CALENDAR 2014 (cont...)
ABOUT MY CALENDAR
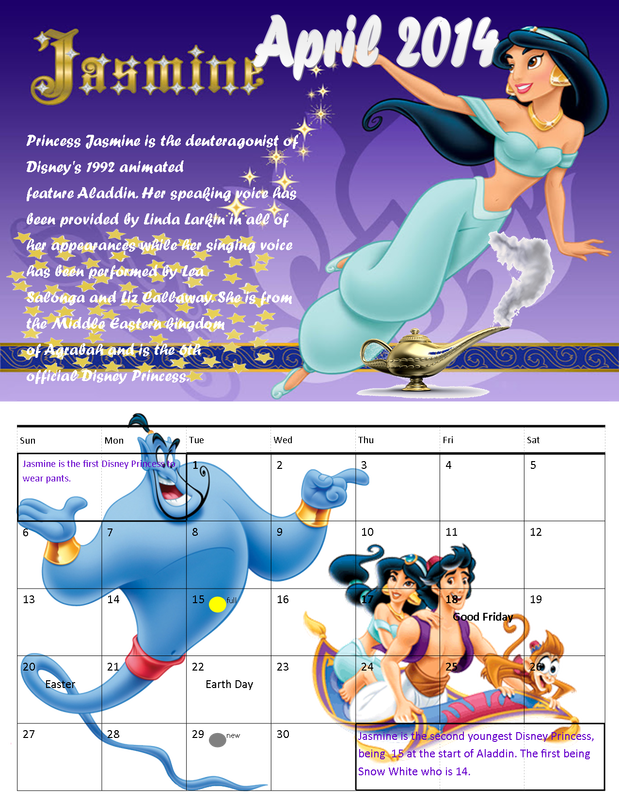
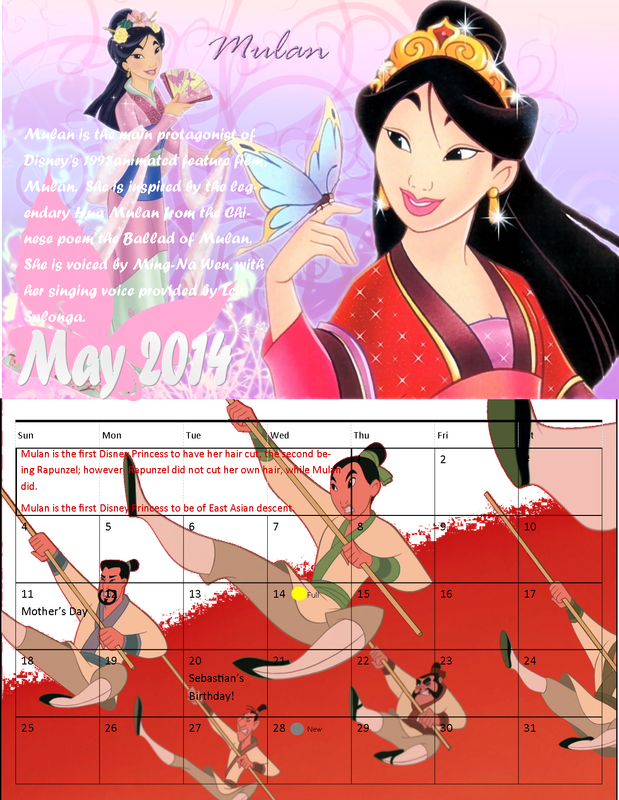
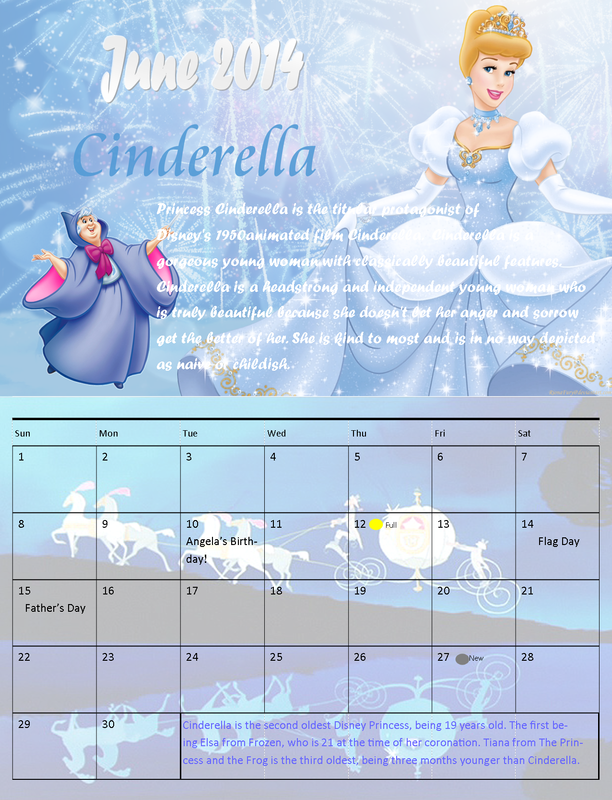
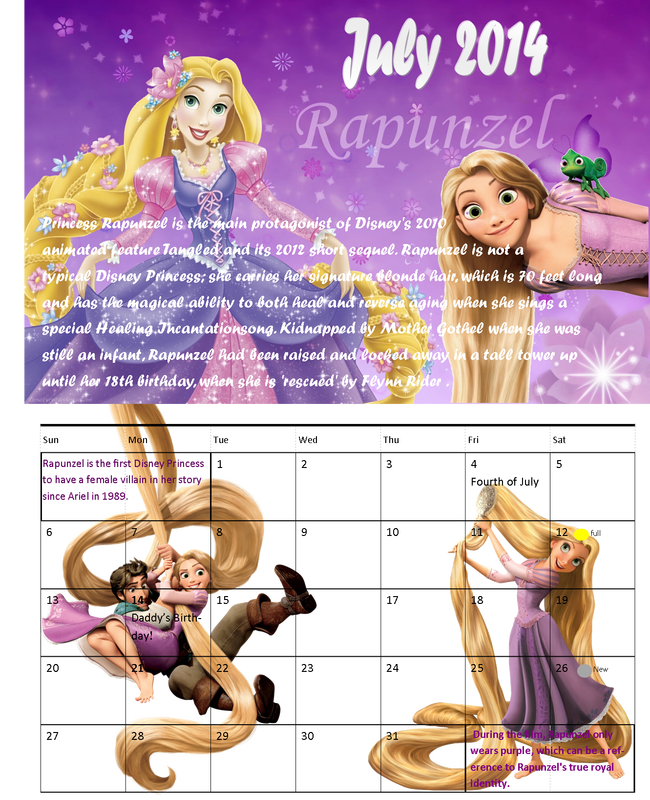
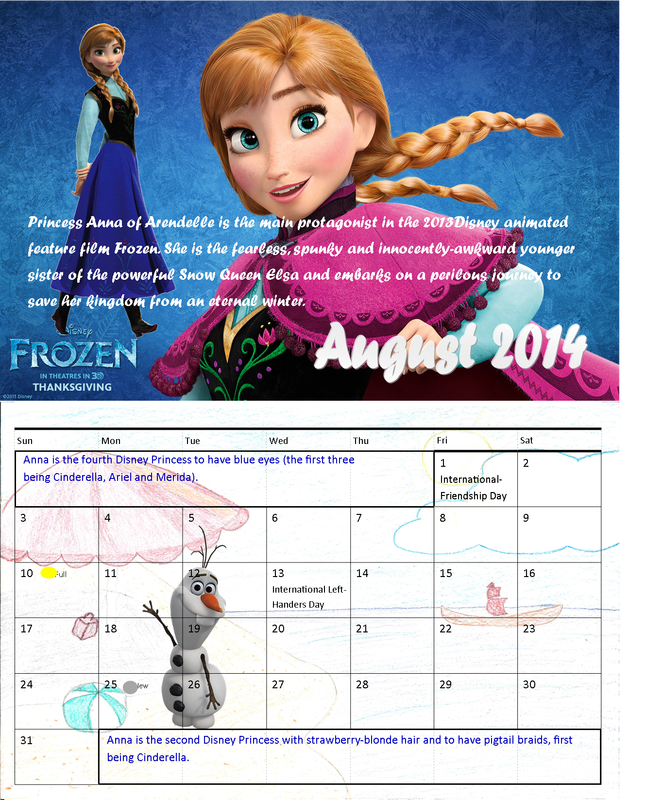
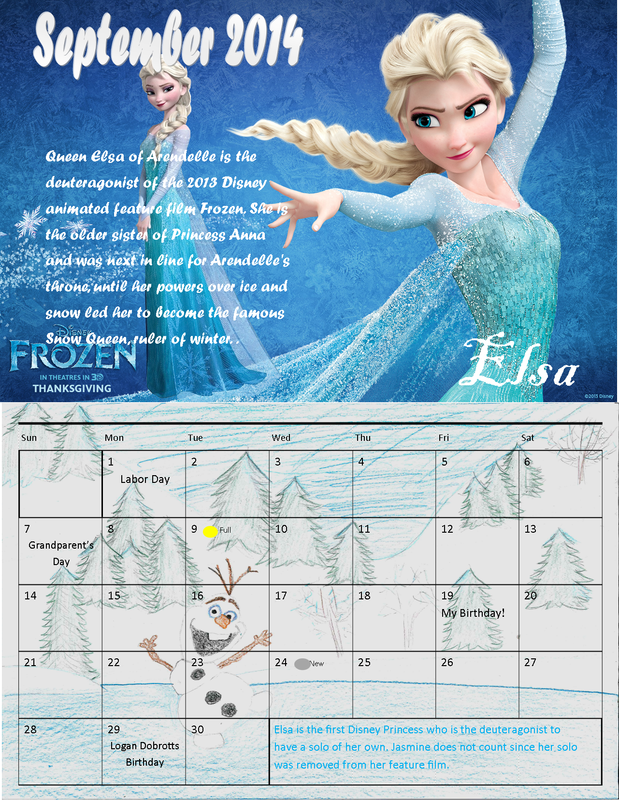
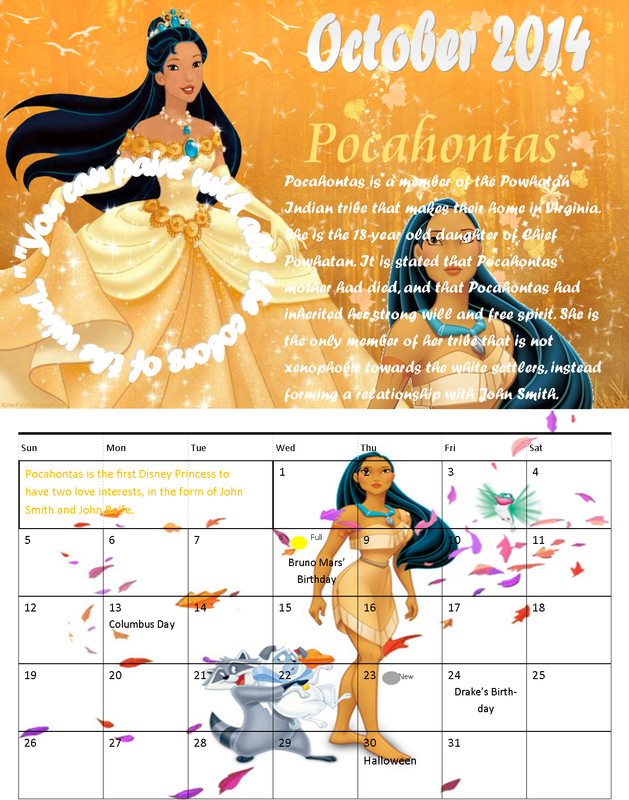
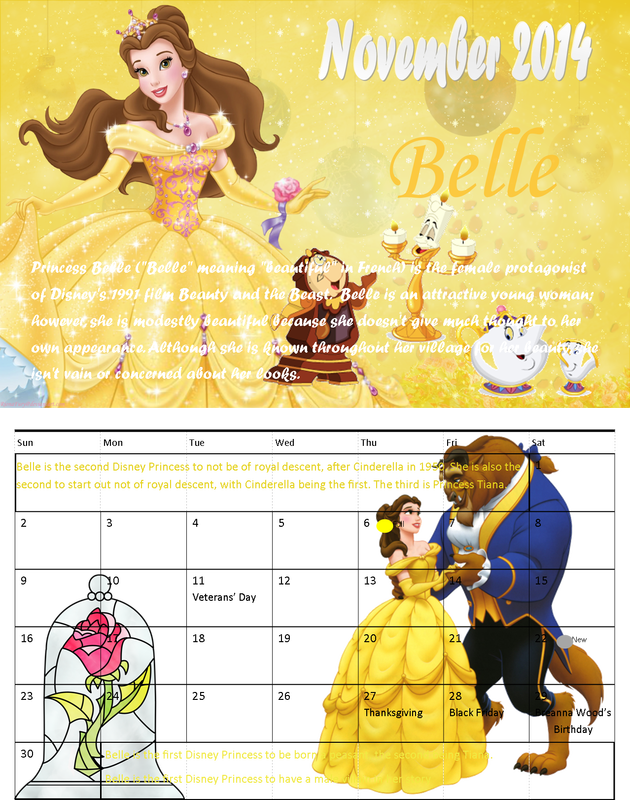
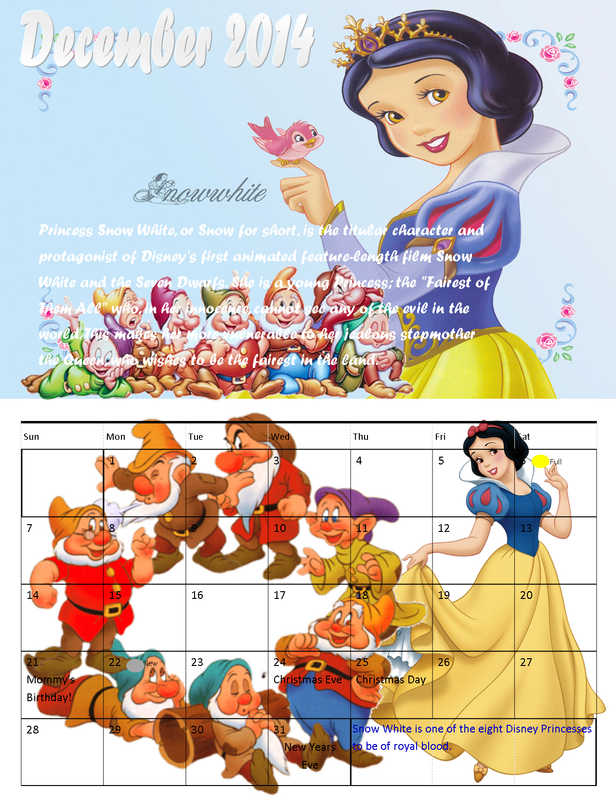
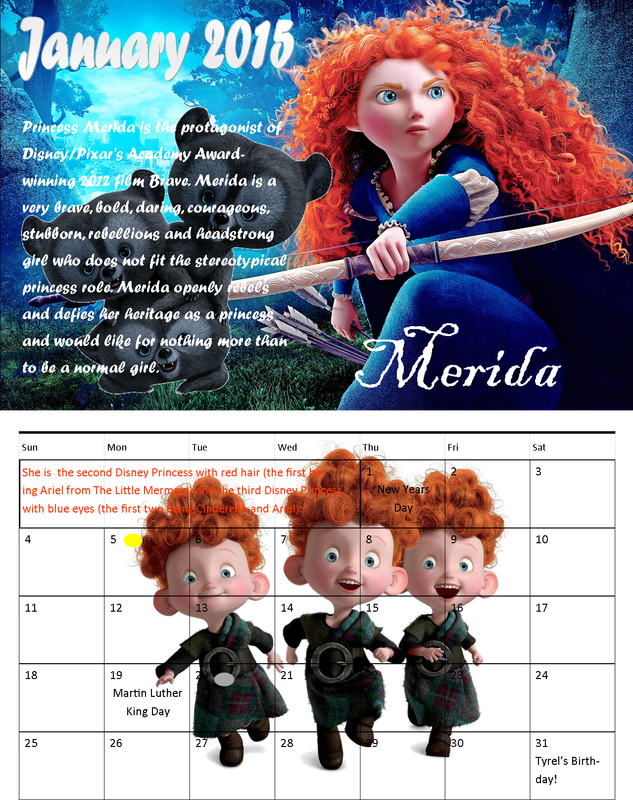
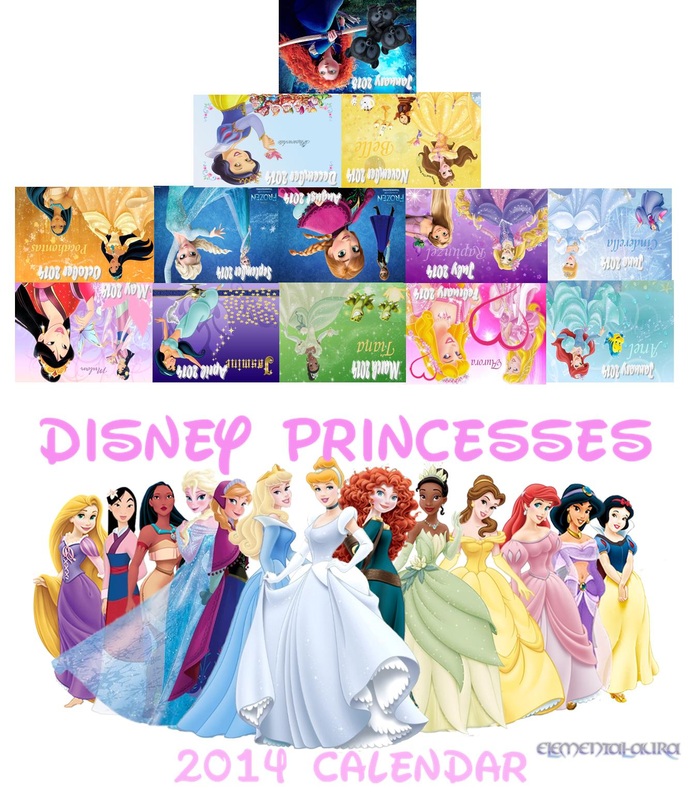
The calendar created features all of the Disney Princesses. This was a good topic, because I love Disney and I wanted to make it a project that I would enjoy doing. Also, after I was finished with the calendar it could be used. The Calendar features all the princesses such as Ariel, Aurora, Tiana, Jasmine, Mulan, Cinderella, Rapunzel, Anna, Elsa, Pocahontas, Belle, Snow White, and Merida. The Calendar starts at January 2014, and runs through January 2015. Each page of the Calendar consists of a top and bottom portion. The top contains of a creative photo to illustrate the princess, the month and year, the princesses’ name, and paragraph writing about her. The bottom portion of the page consists of a calendar grid for that specific month. The grid is labeled with national and personal holidays, and also the moon phases are contained within each month. For the blank spaces in the grid before, and or after the days in the moth, fun fact(s) are listed about the specific Princess. The facts are very interesting and things that you most likely did not know about the princess. The front cover is a picture of all the princess that are contained in the calendar. I titled the cover of my calendar (Disney Princesses-2014 Calendar). The back cover has a grid of all the pictures that are at the top for each month of my calendar. This is sort of a sneak preview to see what each page of the calendar looks like.
To create my calendar I used tools in Photoshop, and made sure I stuck to my specific theme. In Photoshop I used tools such as the clone stamp, color replacement, type on a path, etc. Each month in my calendar was created differently using different tools and styles. In August and September of my calendar, the bottom portion behind the grid contains my own artwork. Images were drawn relative to the specific princess, and then scanned into the computer to make it the background of the grid. All of the images shown in my calendar were collected from google images and twisted a bit, to recreate them and make them my own images. The tools that I used in Photoshop are what helped me recreate the images.
The process of designing my calendar was started by making a rough draft template. This was to help me know how I was going to set it up, and help me put my calendar together in the end. After I was finished designing the template for my calendar, I opened up blank pages in publisher and divided them in two equal parts, to separate the top portion, and the grid part of the page. The process was started by creating January of 2014, and finished by creating January of 2015. Each page of the Calendar took about one class period to make. To complete the final product, it took a couple of months. After I created all of the pages for the months of my calendar, I designed the front and back covers of it. In between each month, I made sure to print out each month on regular copy paper, to make sure that everything was going to come out alright in the end. After I was completely done with making all of the pages, including the cover on publisher, I took out my handwritten template that I created in the beginning. This was used to open new pages on publisher and flip things around so that everything was in order for when I put the calendar together. After I completed this step in the process, I printed out the calendar on cardstock shiny paper, to receive the final product of the project. After printing the final product of the calendar, I folded all of the pages in the right direction to put it all together. All of the pages of the calendar were then put together, and then stapled together with three staples to hold all of the pages together.
While I was in the process of creating the calendar, I made sure that I always kept my Weebly page updated. This was done by after completing a month, uploading it to Weebly and writing a little bit about it. This was done for all of the months including the front and back cover page. Now that was calendar is completed, the final product is neat, organized, and revised from the rough draft. Most of the images are a good quality and resolution, but some were hard to find that way. If I was to do this project again, I would have chosen a different theme with easier images to find so that they were better quality. Other than that, I am happy with the way that my calendar project came out.
